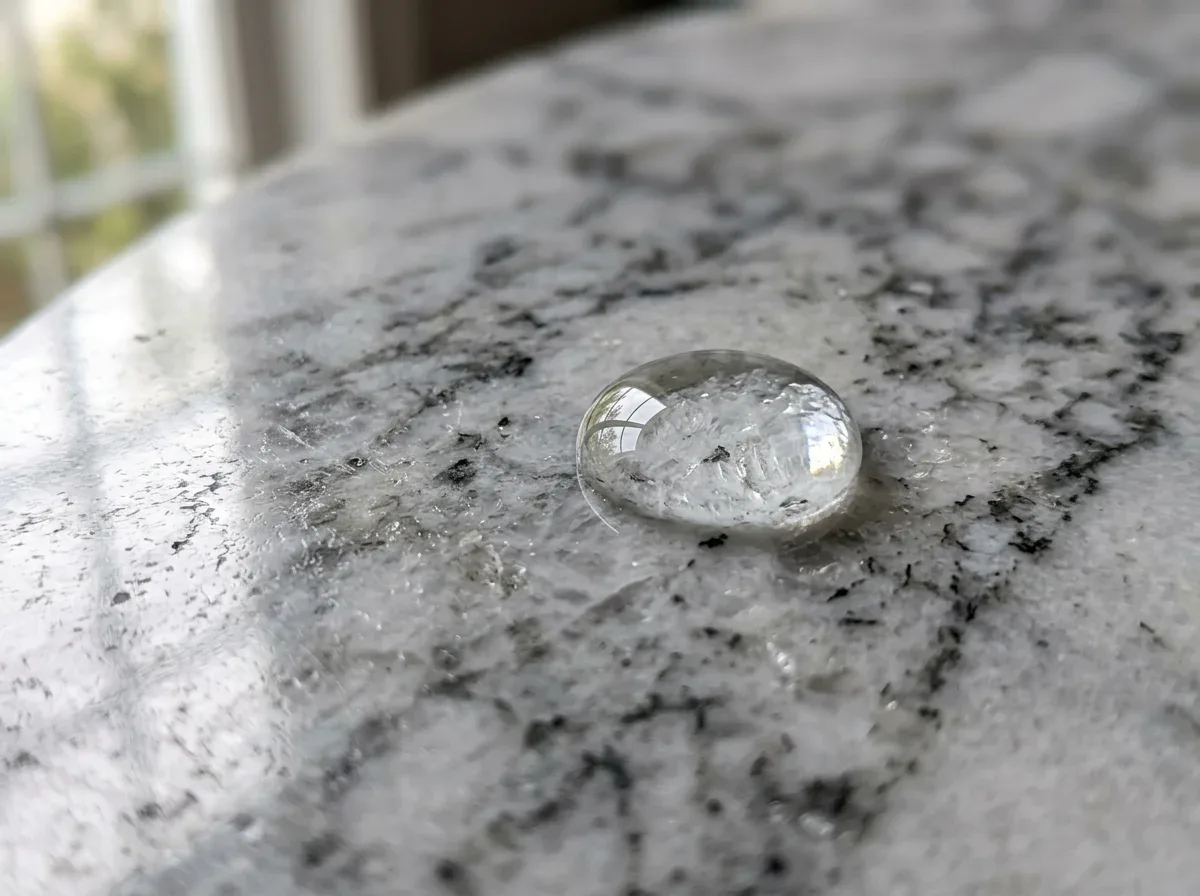
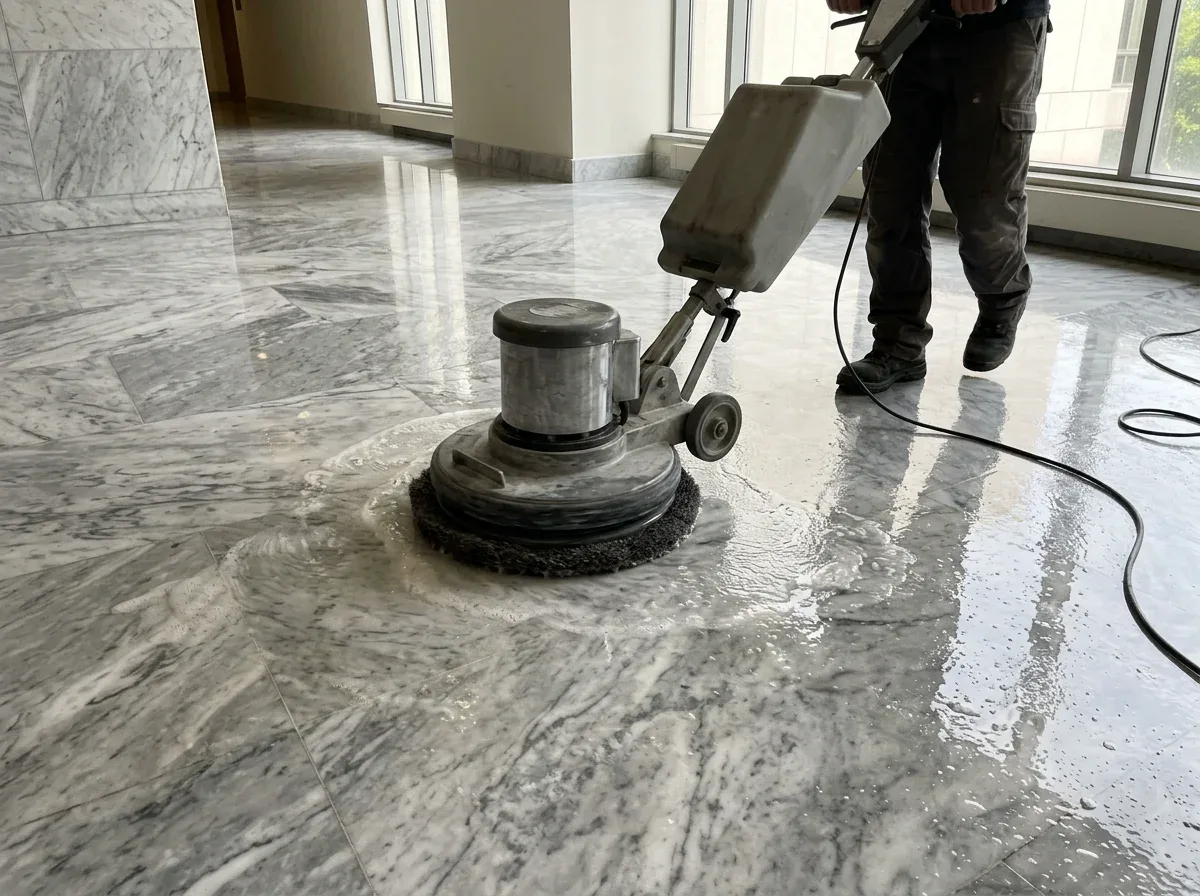
Marble Grinding Stages: From Coarse Grinding to Polishing with Diamond Pad Grits
In short: Marble grinding is not a single operation but a process made up of successive stages.
Each stage removes the marks left on the surface by the previous one and refines the surface a little more, bringing it closer to a polish. In this article we explain the logic of the stages, what abrasive numbers mean, and why skipping a stage ruins the final result.
The Basic Principle: From Large Scratches to Small Scratches
The essence of grinding is this: every abrasive leaves scratches of its own size on the surface. A coarse abrasive quickly removes deep scratches and level differences, but leaves relatively large scratches behind. The next, finer abrasive removes those scratches and leaves smaller ones. This chain continues until the scratches are too small to be seen by the eye and the surface reflects light like a mirror.
That is why the goal in grinding is not to "start with the finest abrasive", but to start with the coarsest stage the floor needs and work toward the fine stages without skipping any.
What Do Abrasive Numbers Mean?
Diamond abrasives are numbered according to the size of the diamond particles on them. This number is called grit (grit size):
- Low number means coarse: Numbers such as 30, 50 and 100 indicate large diamond particles; these abrasives quickly remove level differences and deep scratches.
- High number means fine: Numbers such as 400, 800, 1500 and 3000 indicate progressively finer particles; these stages even out the surface and bring it closer to a polish.
Numbering and bond structure may vary between manufacturers, but the basic logic is the same.
Stages
1. Coarse Grinding (Leveling)
When it is needed: When there are level differences between slabs, when there are deep scratches and pits, or when an old coating is to be removed.
What is used: Usually metal-bond diamond segments or coarse resin pads.
What happens: The surface is brought to a completely uniform level. At this stage the floor looks matte and gray, and the slurry produced is heavy. This is the part of grinding that demands the most noise and time.
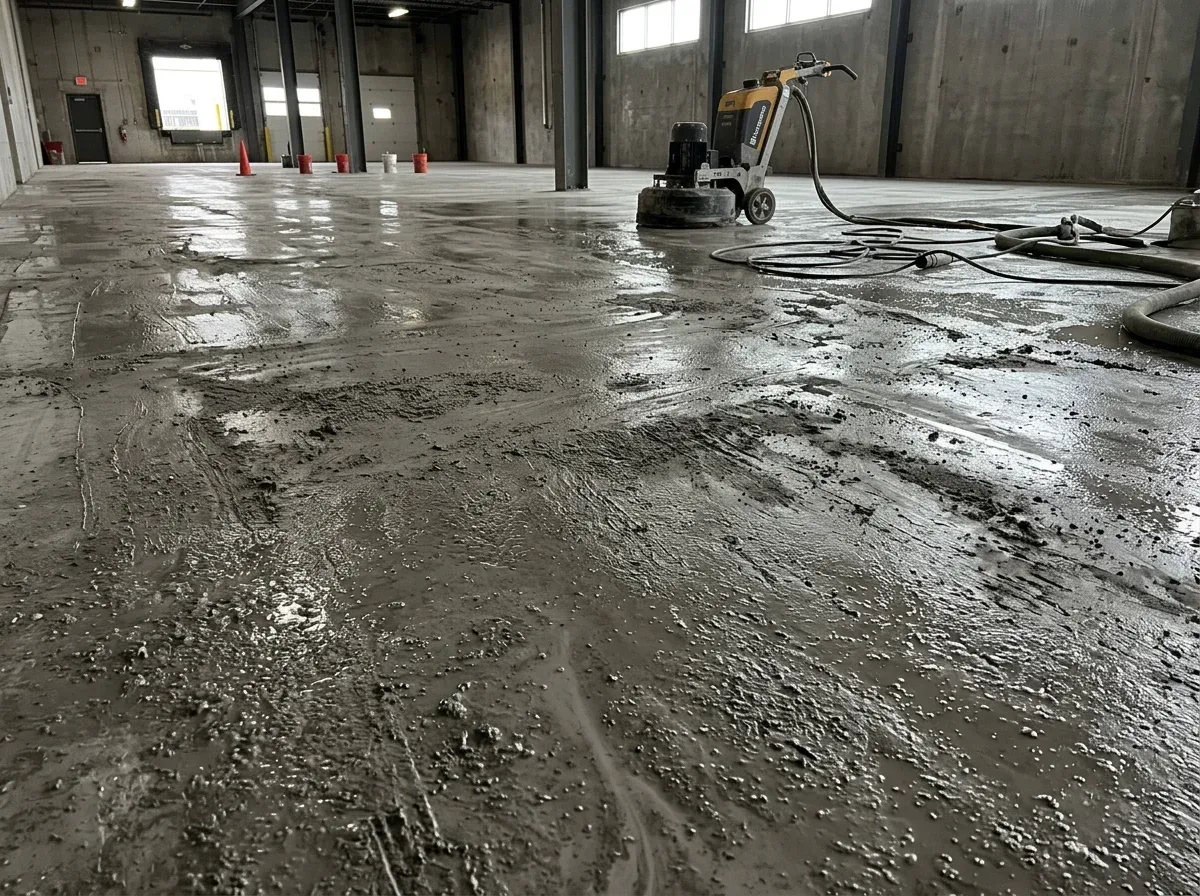
On a floor that is slightly dulled but flat, coarse grinding may not be necessary; work starts from a finer stage.
2. Filling and Repair Between Stages
Once coarse grinding has opened up the surface, small holes, cracks and broken corners become more clearly visible. At this point color-matched fillers are applied and left to harden, and the next stage brings the filler to the same level as the surface.
3. Intermediate Stages (Refining the Surface)
What is used: Resin-bond diamond pads, in the medium grits.
What happens: The scratches of coarse grinding disappear and the floor takes on a silky matte finish. The stone's color and veining begin to become distinct. If a honed (matte) surface is desired, grinding is usually stopped within this range.
4. Fine Stages (The Beginning of Shine)
What is used: High-grit resin pads.
What happens: The surface starts to reflect light. Windows and ceiling lamps appear on the floor as a blurry image; this image becomes sharper with each stage.
5. Polishing and Finishing
What is used: The finest pads, polishing powders or crystallization products.
What happens: The marble's own shine emerges. If desired, crystallization strengthens the surface hardness and shine.
6. Cleaning and Protection
Slurry and residues are removed completely. Once the stone has dried, a sealer is applied if necessary.
Why Does Skipping a Stage Cause Problems?
If a stage is skipped to save time, the fine abrasive is not enough to remove the deep scratches of the previous stage. As a result, three distinct problems appear on the floor.
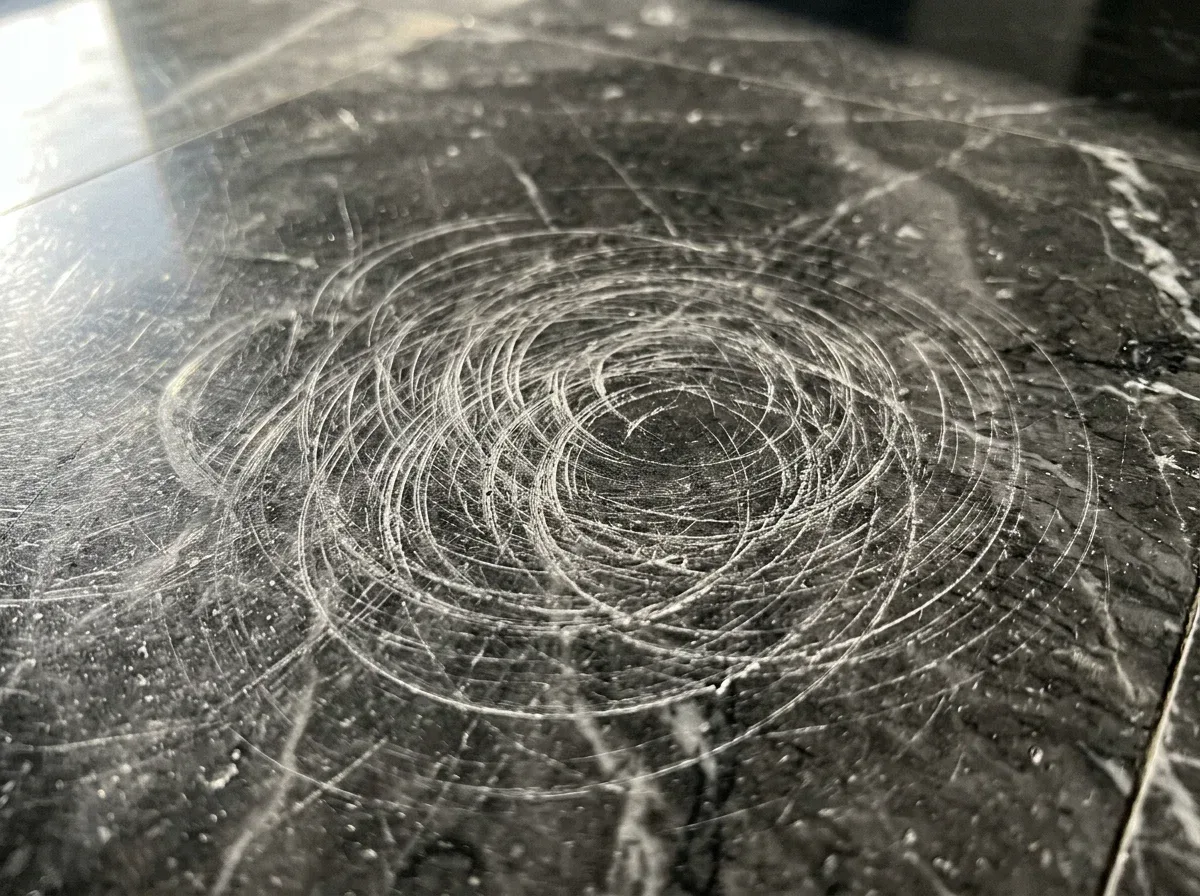
- Surface with circular scratches: The surface looks shiny from a distance, but up close and when viewed against the light, it is full of circular scratches left by the skipped stage.
- Hazy shine: Because the scratches that were not removed scatter the light, the reflection stays blurry and hazy even though the surface looks shiny, and lamps do not appear sharp on the floor.
- Floor that dulls quickly: Because the surface is not fully smoothed, it dulls in a short time with foot traffic, and the floor needs maintenance again much sooner than expected.

The measure of good grinding is not just shine but the sharpness of the reflection.
Stages at a Glance
| Stage | Purpose | Appearance of the floor |
|---|---|---|
| Coarse grinding | Removing level differences, deep scratches and the old coating | Matte, gray, blurry |
| Filling between stages | Completing holes, cracks and broken corners | Filler stains in places |
| Intermediate stages | Removing coarse scratches, refining the surface | Silky matte; the veining becomes more pronounced |
| Fine grits | Transition to gloss | The hazy reflection sharpens |
| Polishing / crystallization | Final gloss and surface hardness | Sharp reflection |
| Cleaning and protection | Removing the slurry and, if necessary, impregnating | Finished floor |
Not Every Floor Starts at the Same Grit
The condition of the floor determines how many grits will be used. A newly installed floor with height differences between slabs has to start with coarse grinding. On a floor that has been in use for years but has stayed level and has only dulled along the walking paths, starting with a medium or fine grit is enough. Starting coarser than necessary removes more material from the stone and prolongs the job; starting finer than necessary does not fully remove the scratches. That is why, before grinding, the floor is inspected against the light, the slab joints are checked by hand, and a test is carried out on a small area.
How Does the Type of Stone Affect the Grits?
The same grit plan does not give the same result on every stone; the hardness, color and filler of the stone change the duration and care required at each grit.
- Soft white marbles: They wear quickly; the grits take less time, but you must not press too hard at the coarse grit, otherwise more material than necessary is removed from the stone.
- Hard and dark marbles: Each grit takes longer; a skipped grit is much more visible on a dark floor.
- Veined and filled marbles: The filler and the stone wear at different rates, so care is needed at the filling grits; otherwise pitting or raised spots may remain on the surface.
- Travertine: Because of its pores, the filling step is always included in the middle of the grinding process; the voids are filled and leveled with the surface through the following grits.
Most of the marble installed in villas and hotels in Alanya comes from different quarries and can behave differently from one piece to another, even within the same building. For this reason, our team determines the grit plan on site for every floor; you can watch a job in the field in the video.
Machine and Water

Heavy-bodied grinding machines are used throughout the stages. The weight of the machine ensures that the abrasive applies even pressure to the surface. In wet grinding, the water both cools the abrasive and binds the dust; the slurry that forms is continuously collected by vacuum, so the craftsman can see the surface clearly at every stage.
Wall edges, corners, and door thresholds are taken through the same stages with hand-held machines; having the edges look the same as the main area is an important indicator of the quality of the work.
Our Crystallization Polishing Service in Alanya

After honing, or on marble floors that have lost their shine but have no deep damage, we use crystallization polishing to enhance the surface's gloss and durability. It is a method that extends the maintenance interval in heavily used areas such as hotel lobbies, shops, and apartment building entrances.
We show you on site whether crystallization polishing or honing is the right choice for your floor. Explore our Crystallization Polishing service.
The way to save time when polishing is not to skip a grit stage, but to start at the right one. A skipped stage may look bright on the first day, but it turns hazy within a few weeks; a polish done in the correct sequence keeps its shine for years.
From the Field: Marble Polishing Application
You can watch one of our team's on-site projects in the video below.
Frequently Asked Questions
01Are all grit stages used on every marble?
02At which stage is a honed finish left?
03Does crystallization have to be done at the end of every grinding job?
04How many stages are there in grinding?
05Does the water used in grinding damage the stone?
06How can I tell if a stage was skipped?
Related Articles
- What Is Marble Honing and How Is It Done? A Guide for Your Floors
- Floor Grinding Machines: The Difference Between Single-Disc and Planetary Machines
- Glossary of Floor Grinding Terms
- What Is Gloss Measurement? Understanding How Shiny Your Floor Is
- The Difference Between Marble Polishing and Marble Buffing