Concrete Polishing Process and Duration: Day-by-Day Workflow
In short: The answer to "How many days does concrete grinding take?" depends on the size of the area, the condition of the concrete, the repair needs, and the desired gloss.
In this article, we walk through the steps of concrete grinding day by day for an example mid-sized area and explain what lengthens or shortens the timeline. The workflow here is only an example; the actual duration is determined during the site survey.
Before Starting Work
Site Survey
During the survey, the condition of the floor and the working conditions are inspected on site; the scope and duration of the job are determined based on this information.
- Age and strength of the concrete: The age and strength of the concrete indicate which diamonds to start with and whether the floor is suitable for grinding.
- Old coating residues: If there are residues of old paint, coating, or adhesive, the rough grinding takes longer; their thickness is checked during the survey.
- Cracks, joints, and pits: The number and type of cracks, joints, and pits determine the time to be set aside for repairs and the filler material to be used.
- Oil and chemical stains: Oil and chemical stains require pre-cleaning before grinding; deeply penetrated stains may need additional treatment.
- Electricity, water, and access: Electricity, water, and access conditions affect how the machines will be brought into the area and whether the wet or dry method will be chosen.
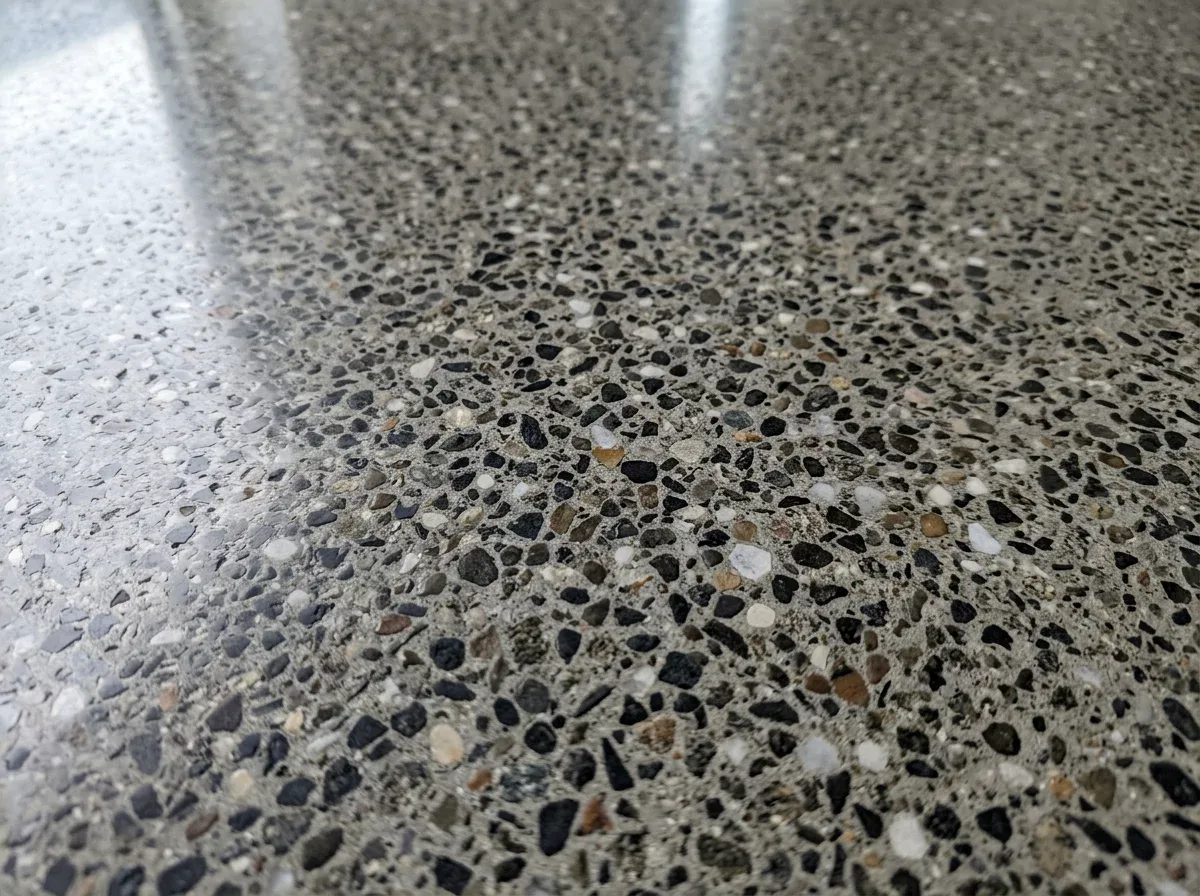
- Desired surface: The desired surface (satin, semi-gloss, high gloss) and the aggregate appearance determine the grinding depth and the number of polishing stages.
Each of these points is examined individually during the survey. A small test area shows how the concrete responds.
Planning
The area is cleared or divided into sections, working hours are set, and the wet or dry method is selected.

Sample Workflow
Day 1: Preparation and Rough Grinding
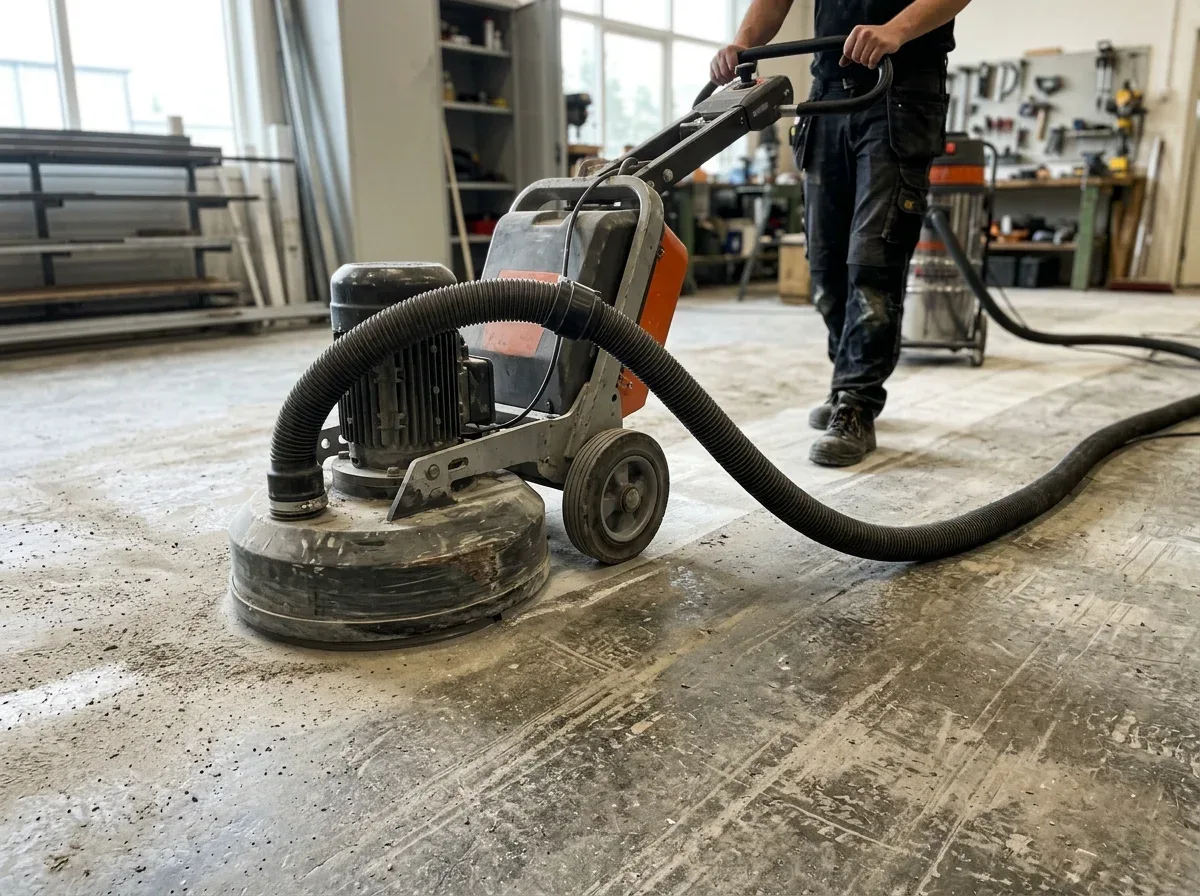
On the first day, the area is protected, stains are removed, and the weak top layer is taken off with rough grinding to reach sound concrete.
- Protecting the area: Wall bases, doors, and fixed equipment are covered for protection so that grinding slurry and dust do not spread to the surroundings.
- Pre-cleaning of stains: Oil and heavy stains are cleaned beforehand; otherwise they dull the diamonds and spread across the surface during grinding.
- Rough grinding with metal-bond diamonds: Rough grinding is carried out with metal-bond diamonds: the weak surface, old paint, and coatings are removed, exposing sound concrete.
- Wall bases and corners: Wall bases and corners that the large machine cannot reach are worked with handheld machines, so the edges and the central area look uniform.
If there is old epoxy or a thick coating, this stage alone may take more than a day.
Day 2: Repairs
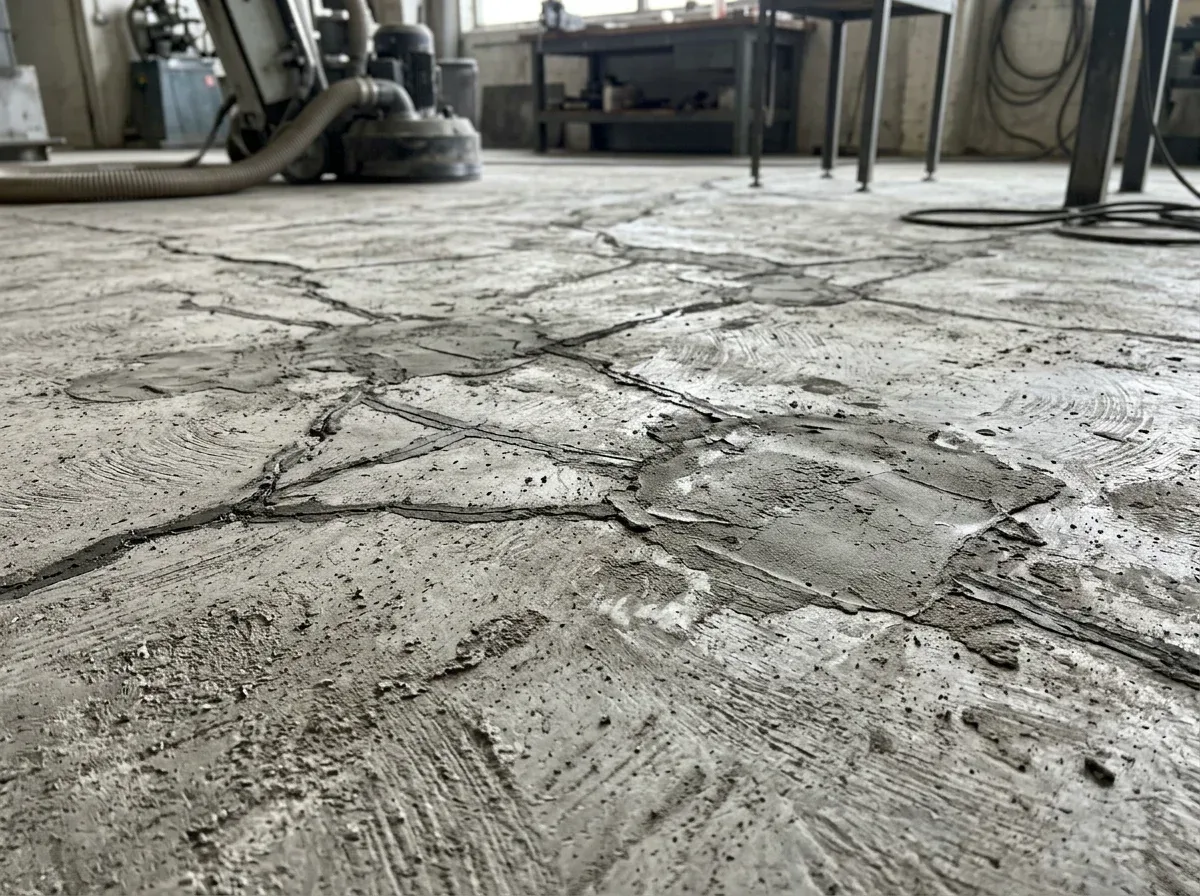
Because rough grinding reveals the true condition of cracks and spalls, repairs are carried out on the second day on the sound surface.
- Filling cracks: Cracks are opened with a diamond disc, dusted out, and filled with a filler material suited to their type.
- Renewing joints: Dirt and deteriorated old filler inside the joints are cleaned out, and then the joints are refilled.
- Pit and spall repair: Loose parts of pits and spalls are removed and cleaned, then filled with a suitable repair mortar or resin.
- Curing of the filler: The filler materials are allowed to harden; this wait is not skipped, because filler that is ground too early can come loose.
Depending on the material used, the waiting time can range from a few hours to a day.
Day 3: Intermediate Grinding and Densifier
On the third day, the repairs are leveled with the surface and the concrete is strengthened with a densifier so that it will not dust.
- Leveling the repairs: One more pass is made to bring the repairs flush with the surface; excess filler is flattened.
- Transition stage: The transition-stage abrasives remove the deep scratches left by rough grinding and prepare the surface for fine polishing.
- Densifier application: The densifier is applied and the time required by the product is allowed to pass; during this time, the concrete reacts within its pores and hardens.
Day 4: Polishing Stages
On the fourth day, the surface is refined step by step with resin pads until the desired gloss is reached.
- Medium and fine stages: Medium and fine stages are carried out with resin pads; each stage removes the scratches left by the previous one.
- Stages according to gloss: The number of stages increases or decreases according to the desired gloss; a satin surface requires fewer passes, while a high-gloss surface requires more.
- Surface inspection: After each stage, the surface is inspected; any remaining scratches are removed before moving on to the next stage.
Day 5: Protection and Handover
On the last day, the floor is protected against stains, any necessary markings are applied, and the area is cleaned and handed over.
- Stain protector: A stain protector is applied; it penetrates into the concrete and reduces the amount of oil and liquids entering the pores.
- Burnishing: If required, burnishing is carried out with a high-speed machine; the protector settles into the surface and the gloss increases.
- Lines and markings: In parking lots and warehouses, lines and markings such as parking lines and walkways are painted at this stage.
- Final cleaning and handover: Grinding residue and dust are removed for a final cleaning, and the floor is handed over together with usage and maintenance information.
What Extends the Timeline?
Most of the factors that extend the workflow can be identified during the site survey, so they are added to the schedule from the start at the planning stage.
- Thick coating residues: Thick coating or adhesive residues dull the diamonds quickly and can make rough grinding last longer than a day.
- Numerous cracks: A large number of cracks and spalls increases both the repair labor and the waiting time for the fillers to cure.
- Very hard or soft concrete: Very hard concrete causes the diamonds to progress slowly, while very soft concrete calls for additional hardening and careful grinding.
- Demand for high gloss: A demand for high gloss and exposed aggregate requires deeper grinding and more polishing stages.
- Section-by-section progress: Working section by section in an operating facility takes time because the machines have to be moved and each area has to be protected separately.
- Limited working hours: When work is done at night or during limited hours, the productive time per day is shorter and the job is spread over more days.
- Drying wait: In wet grinding, the hardener and protector cannot be applied without waiting for the floor to dry; this waiting time is added to the schedule.
What Shortens the Timeline?
On an empty, sound, uncoated floor, the machines run without interruption, so the job is finished in a noticeably shorter time.
- Empty, easily accessible area: In an empty and easily accessible area, the machines can start working right away; no time is spent moving or protecting items.
- Uncoated, sound concrete: On uncoated and sound concrete, no removal or extensive repair is needed, so rough grinding is quick.
- Satin finish target: A satin finish requires fewer polishing stages than a high gloss, and the job can be finished a day earlier.
- Dry grinding: With dry grinding, there is no need to wait for the floor to dry, so the transition between stages is fast and the workflow continues uninterrupted.
- Large area in one go: In a large area that can be worked on in one go, the machines proceed without interruption, and setup and transport time is reduced.
Approximate Durations by Area Size
The durations below are provided to give a general idea for an uncoated, sound, empty concrete floor. The actual duration is confirmed at the site survey, after the test area.
| Area | Example | Approximate duration |
|---|---|---|
| 30-60 m² | Villa garage, small workshop | 2-3 days |
| 100-300 m² | Store, office, showroom | 3-5 days |
| 500-1,000 m² | Warehouse, parking garage level | 1-2 weeks |
| Over 1,000 m² | Factory, logistics center | Planned section by section |
Time Until the Floor Can Be Used
When the floor can be opened for use depends on the curing time of the applied protector and the repair fillers.
- Foot traffic: With dry grinding, generally as soon as the work is finished; if a stain protector has been applied, wait for the product's drying time.
- Furniture and shelving: Placed after the sealer has cured, and lifted rather than dragged, so the new surface does not get scratched or marked.
- Vehicles and forklifts: Repair fillers and the sealer must be fully hardened first; this generally takes 24-72 hours.
- Wet cleaning: Not done before the time specified by the sealer manufacturer has passed; water arriving too early prevents the sealer from fully penetrating the concrete.
Your Preparation as the Customer
Having the area ready plays a big role in finishing the grinding within the planned time. Emptying the area as much as possible before work begins, providing sufficient power supply for the machines (often three-phase), arranging water access for wet grinding, and deciding in advance where the waste slurry will be taken all speed up the work. In a working facility, letting us know in advance which sections can be cleared at which hours allows the team to organize its workflow accordingly.
Planning in Alanya
For hotel service areas and car parks in Alanya, we generally schedule grinding work outside the season, between November and March. In areas that must be worked on during the season, we take care not to disrupt the operation of the business by working at night or early in the morning, section by section. Villa garages and small workshops are often delivered within a few days. After the survey and the trial area, we give you a day-by-day work plan.
Reopening for Use

Once polishing is complete, the floor can usually be walked on after a short time. However:
- Wet cleaning should be avoided during the curing time of the stain protector,
- Heavy equipment and shelving should be placed carefully,
- Vehicle traffic should be allowed according to the instructions of the applied product.
Our Concrete Grinding Service in Alanya

We grind concrete floors in warehouses, factories, parking garages, stores, and homes, then strengthen them with a hardener to create a dust-free surface that is easy to clean. We apply a matte, satin, or glossy finish depending on the look you want.
We inspect the age and condition of your floor on site and determine the right method together with you. Explore our Concrete Grinding service.
Skipping grit stages to save time when polishing is the most expensive shortcut. Every stage you skip comes back as scratches and haze in the final shine.
Frequently Asked Questions
01How many days does a small garage take to finish?
02Can the space be used during grinding?
03Can the work be done on weekends or at night?
04Can the hardener be polished on the same day?
05Can concrete grinding be done in rainy weather?
06Do we have to vacate the entire area at once?
Related Articles
- What Is Concrete Grinding and How Is It Done? Turning Dusting Concrete into a Glossy Floor
- Factors Affecting the Cost of Concrete Grinding
- Removing Old Epoxy and Switching to Concrete Grinding
- Wet vs. Dry Method in Concrete Grinding: How Is Dust Managed?
- Concrete Grinding or Epoxy Coating? Which Is Suitable for Which Floor