Refinishing, Repair, or Replacement? A Decision Guide for Natural Stone Floors
In short: When a natural stone floor has aged, you have three options: restore it by grinding and polishing, repair it, or remove it and lay it again.
Removal is the most expensive and most laborious route, and it is often unnecessary. In this article, we explain the questions that will help you assess the condition of your floor yourself, and when each option is the right one.
Why Does This Decision Matter?
Removing a floor is not just the cost of stone. The old stone has to be broken up and removed, the rubble hauled away, the screed checked and repaired, the new stone laid, the joints filled, and finally the floor has to be ground and polished again. During this process, the home or business cannot be used for weeks; door frames, skirting boards and kitchen cabinets are affected as well.
Grinding and repair, on the other hand, preserve the existing stone. In most cases, the floor is ready for use again within a few days. For this reason, removal should only be decided on if the stone itself cannot be saved.
Five Questions to Assess Your Floor
1. Is the Stone Sound?
Do the slabs move when you step on them? When you tap the slabs lightly with the back end of a key, do some of them give off a hollow, dull sound? A hollow sound indicates that the area beneath the slab has come loose (it is hollow).
- A small number of loose slabs: If only a few slabs have come loose, they can be lifted and re-bonded or fixed in place by injection; the rest of the floor stays where it is.
- Most of the floor is loose: If most of the floor has come loose, the problem lies in the screed or the adhesive and removal should be considered; fixing slabs one by one will not be a lasting solution.
2. What Is the State of the Cracks?
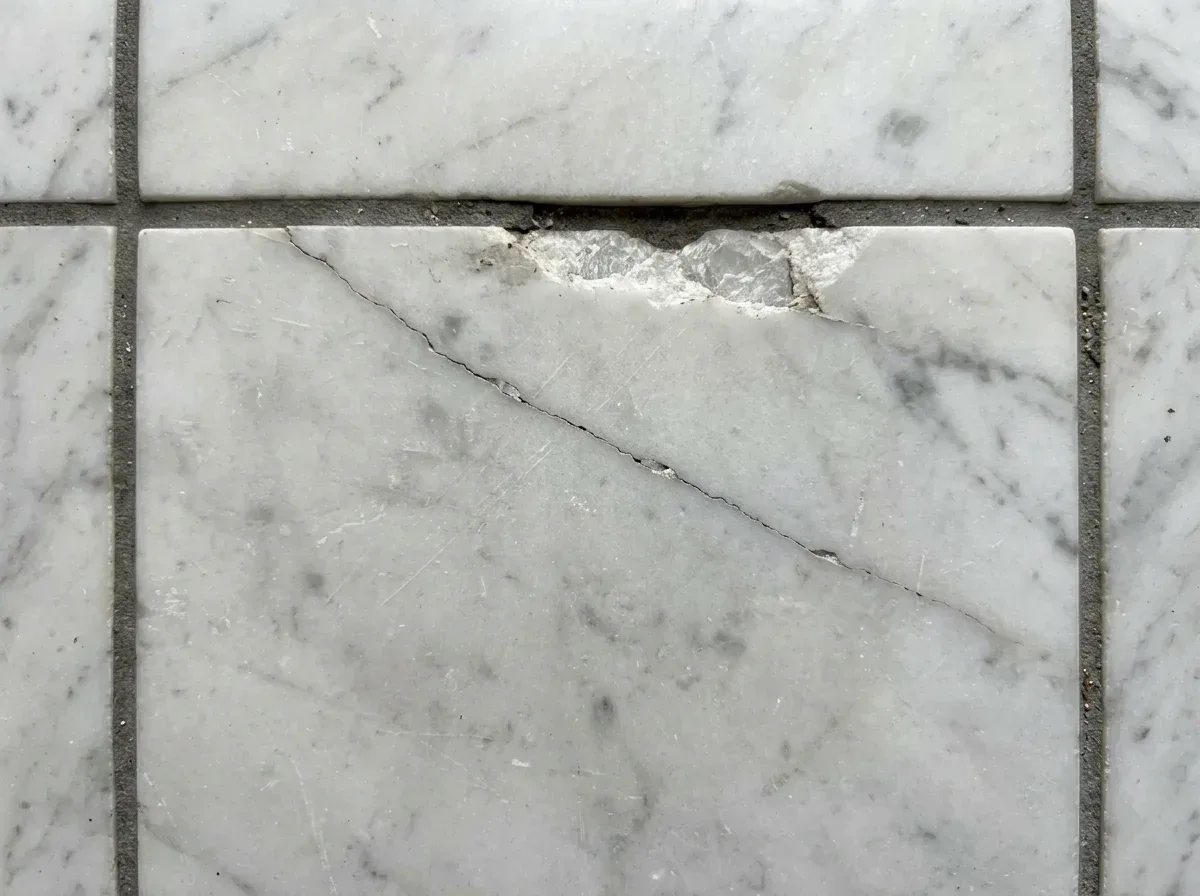
- Fine, isolated cracks: Fine, isolated cracks can be sealed with a color-matched filler; with the grinding that follows, the filler comes level with the floor and is not noticeable.
- Numerous, regular cracks: Numerous cracks that run parallel to one another or cut across every slab may indicate movement in the floor or a structural problem. In this case, the cause must be found first.
3. Is the Stone Thick Enough?
Each grinding removes a very thin layer from the surface of the stone. In a normal restoration, this loss is less than a millimeter, and floor stones 2–3 cm thick can be ground dozens of times. The problem arises with stones that have been ground frequently and aggressively over the years or that were laid thin to begin with. On stairs and door thresholds, you can see the remaining thickness by looking at the edge of the slab.
- Thickness is sufficient: If the thickness of the stone at the edge is clearly visible and even, there is enough margin for grinding; if necessary, a full grinding starting from a coarse grit can be carried out.
- The stone may have thinned: Cracks spreading across the surface like a web, brittle edges and the mortar beneath becoming visible indicate that the stone may have thinned; in this case, only polishing with light grits is carried out.
4. Is the Problem on the Surface or Deep Down?
Whether the problem is on the surface, inside, or underneath the stone directly determines which method will work.
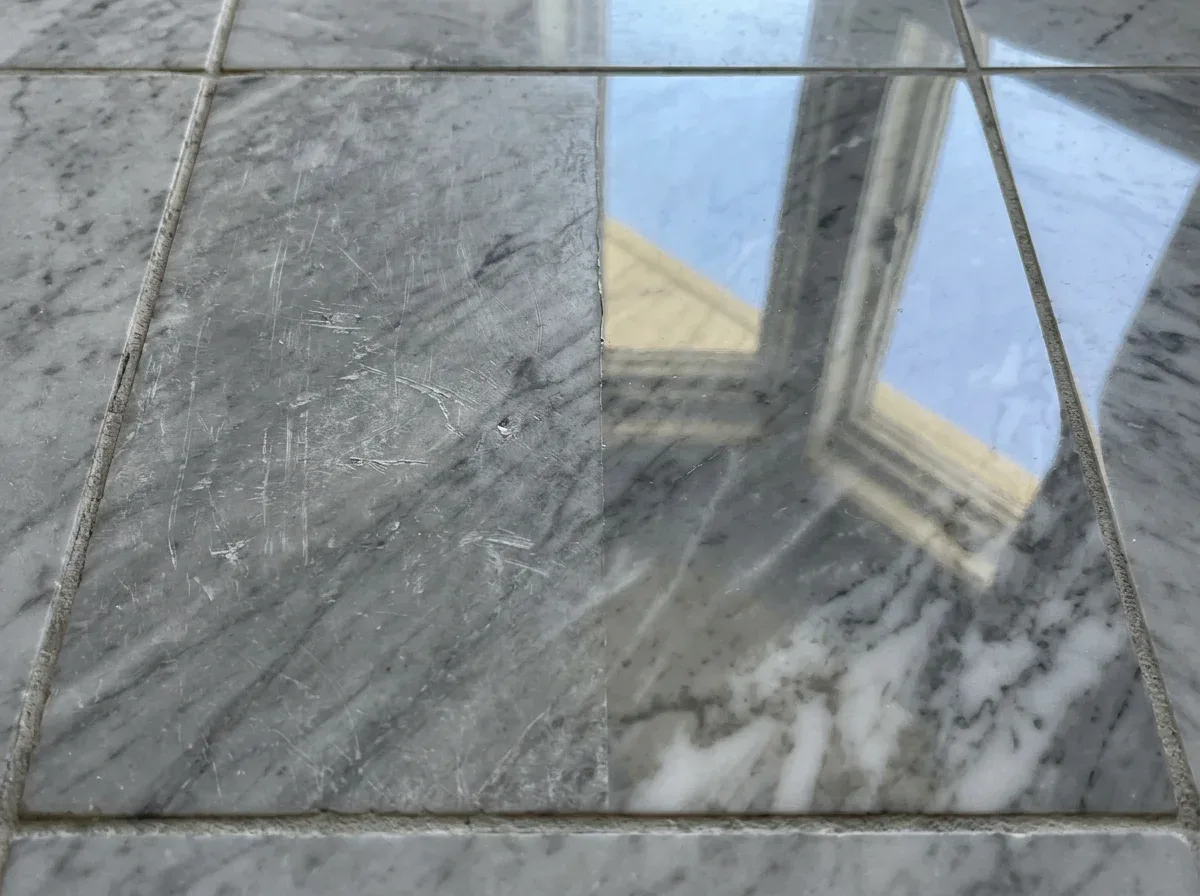
- Surface problems: Dullness, scratches, lippage, acid marks and light stains are on the surface. They are solved by grinding; once a thin layer is removed, the stone looks clean again.
- Deep stains: Old oil or rust stains that have penetrated the stone are deep. They are largely lifted with poultice and grinding; sometimes they do not go away completely.
- Moisture from below: Stains that keep recurring because of moisture rising from below originate beneath the floor. Without solving the moisture source, no lasting result is achieved; grinding provides only a temporary improvement.
5. Do You Dislike the Look, or Is It Simply Worn?
Sometimes the problem is not the condition of the stone, but that the color or pattern is no longer to your taste. In this case, grinding does not change the color; it only brings the stone to its best condition. However, choosing a honed (matte) or antiqued finish instead of a polished one may change the character of the floor more than expected. This option is worth considering before removal.
Options and When They Are the Right Choice
The answers to the five questions point to one of the four options below. More than one option can also be applied together on a single floor; for example, while the living room is being ground, a few loose slabs at the entrance can be re-bonded.
Grinding and Polishing
The right choice: The stone is sound and the problems are on the surface. Dullness, scratches, lippage, acid marks, old polish.
Result: The floor looks flat and glossy as if it were a single piece; the color and veining come back to life.
Repair + Grinding
The right choice: The stone is generally sound, but there are chipped corners here and there, cracks, open travertine holes, broken-away joints, and a few loose slabs.
Result: The defective areas are sealed with color-matched fillers and, if necessary, a few slabs are replaced; then the entire floor is ground. The color of replaced slabs may not exactly match the old ones, so spare stone is very valuable if you have it.
Surface Change
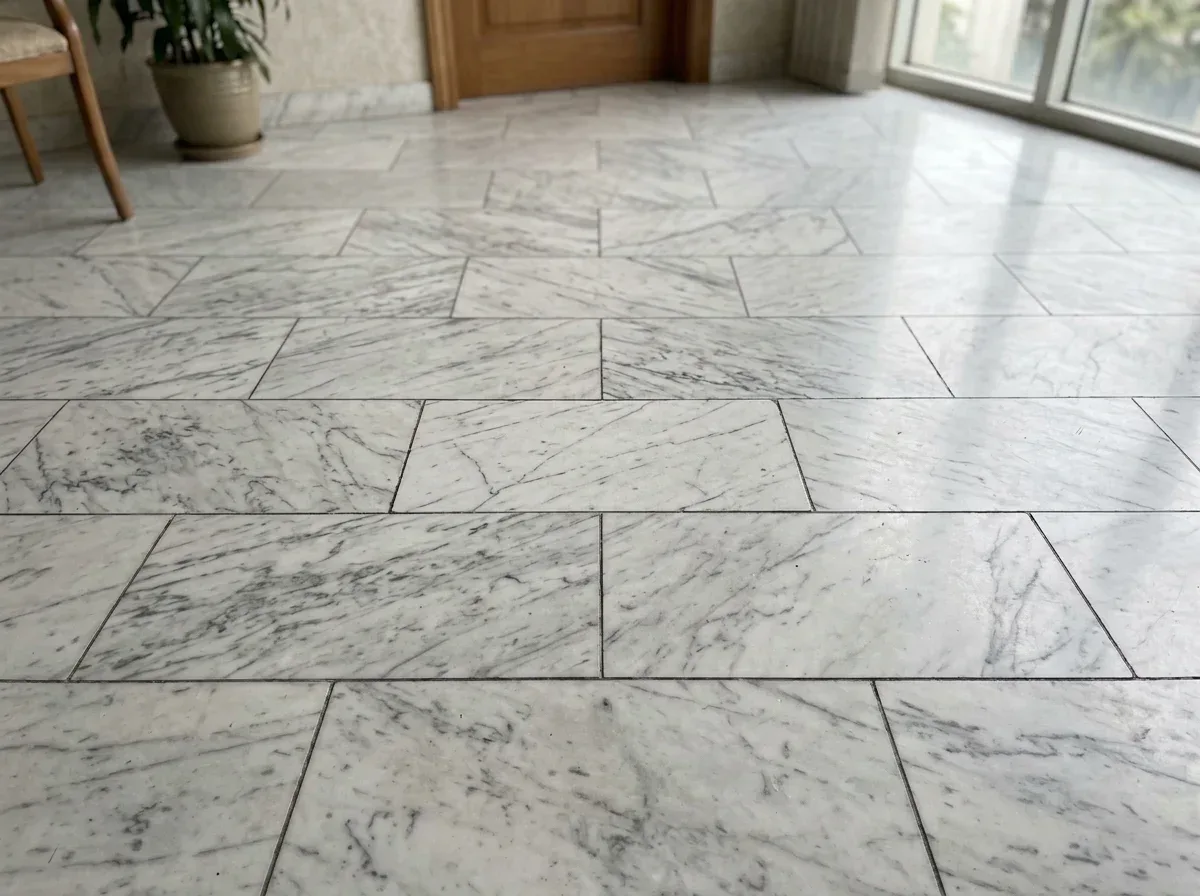
The right choice: The stone is sound, but the polished surface is slippery or unwanted.
Result: The surface is matted by honing, brushing or antiquing; slipperiness decreases and the character changes.
Removal and Re-laying
The right choice: Most of the floor has come loose and there is a serious problem with the screed; it is necessary to get beneath the floor for plumbing or insulation; the stone is badly thinned or broken up; or a completely different material is wanted.
Result: This is the most comprehensive solution, but also the heaviest in terms of time, cost and dust.

Quick Reference Table for Your Decision
| What you see on the floor | Likely solution | Duration and impact |
|---|---|---|
| Dullness, scratches, old polish, acid marks | Grinding and polishing | A few days; the home remains usable |
| Lippage, edge toothing | Sanding starting from the coarse stage | A few days; dust-controlled |
| A few chipped corners, opened pores, hairline cracks | Repair + sanding | Extra time for the filler to cure |
| A few hollow (loose) tiles | Tile fixing or re-bonding + sanding | Localized work |
| Slipperiness on a polished surface | Honing, brushing, antiquing | Close to the sanding time |
| Most of the floor is hollow, screed is deteriorated | Removal and re-laying | Weeks; high cost and debris |
Questions to Ask Before Removal
When you are presented with a removal quote, getting answers to these questions can save you from an unnecessary expense:
- How many tiles are actually hollow: Ask whether the hollow tiles have been identified one by one; removing the entire floor for a few loose tiles is an unnecessary expense.
- Is the problem in the stone or underneath: If the problem is in the screed or the plumbing, removal may be necessary; if it is in the stone itself, repair and sanding are often enough.
- Can a test sanding be done: A test sanding on a small area shows you concretely how the stone will look once restored, before you decide on removal.
- Is there spare or similar stone: If spare stone is available, the replaced tiles will match the old ones; if not, whether a similar-colored stone can be found determines the repair option.
- How will the surroundings be affected: Find out how skirting boards, door frames and cabinets will be affected during removal; these additional jobs reveal the real cost of removal.
In our experience, most of the floors in villas and apartments in Alanya that are considered for removal can be made usable again through repair and sanding. The thick, high-quality marbles laid in older buildings are more durable than many of the new stones sold today; restoring them rather than removing them is often both more economical and more valuable.
Before You Decide

Documenting the current condition of the floor beforehand makes it easier to make the right decision.
- Take photos: Photos taken from different areas of the floor and against the light clearly show how scratches, dullness, and stains are distributed.
- Mark the problem spots: Marking loose tiles, cracks, and stains ensures that no problem area is overlooked during the inspection.
- Check for spare stone: If you have spare stone on hand, broken or hollow tiles can be replaced with the same color and veining, which reduces the need for removal.
- Request an on-site inspection: Voids and moisture beneath the tiles can only be detected through an on-site check; this information cannot be obtained from photos.
For most floors, the first step is honing. The floor revealed after honing can change the mind of even those who were considering removal.
Our Marble Grinding Service in Alanya

We restore marble floors that have become dull, scratched, or uneven between slabs using wet grinding, which keeps dust down. From coarse grinding to polishing, we choose each stage to suit the type of stone and, if needed, carry out crack and joint repairs as part of the same job.
We inspect your floor on site and tell you clearly whether it needs grinding or polishing alone. Explore our Marble Grinding service.
Surface Restoration with Marble Polishing
You can watch one of our team's on-site projects in the video below.
A normal honing or polishing pass removes only a small fraction of a millimeter. However, extra care is needed with very thin slabs that have been ground repeatedly and aggressively in the past, especially at the edges and stair nosings. If the slab edge shows chipping or thinning, an expert assessment is required. — Expert Note