Detecting Hollow (Loose) Tiles in Marble Floors
In short: Marble tiles that sound hollow when tapped, shift slightly underfoot or crack at the edges are "hollow" or debonded tiles.
There isn't enough mortar or adhesive under them. These tiles must be identified and dealt with before polishing. In this article, we explain how to recognize them and how to fix them.
Symptoms
A hollow tile shows itself through signs such as sound, movement and cracks, because the mortar or adhesive underneath has come away.
- Hollow sound under pressure: A tile that is fully bedded gives a solid sound; when you step on or tap a tile with a void beneath it, the sound is dull and hollow.
- A feeling of movement or flex: Because the tile is not fully supported underneath, you feel a slight movement or flex underfoot when you step on it.
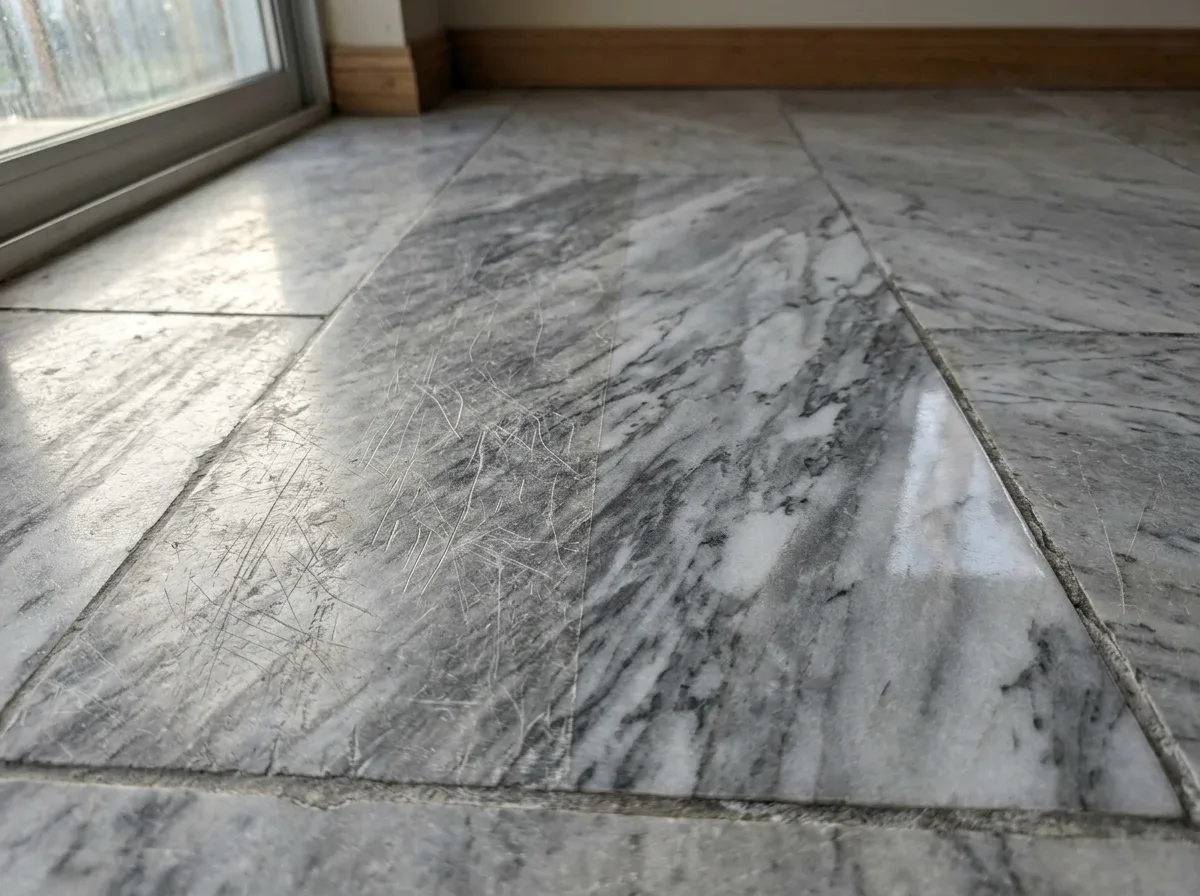
- Crack in the middle or corner of the tile: As the unsupported area bends under load, a crack eventually forms in the middle or at the corner of the tile.
- Cracked and crumbling grout joints: A tile that moves constantly strains the joint between it and its neighbors, so the grout first cracks and then crumbles piece by piece.
- Edge sitting lower than its neighbor: The edge of a tile that has lost its backing gradually settles and ends up lower than the adjacent tile, creating a height difference that catches your foot.
How Is It Detected?
Hollow tiles can be found with simple checks by sound, pressure and eye, with no special equipment needed.
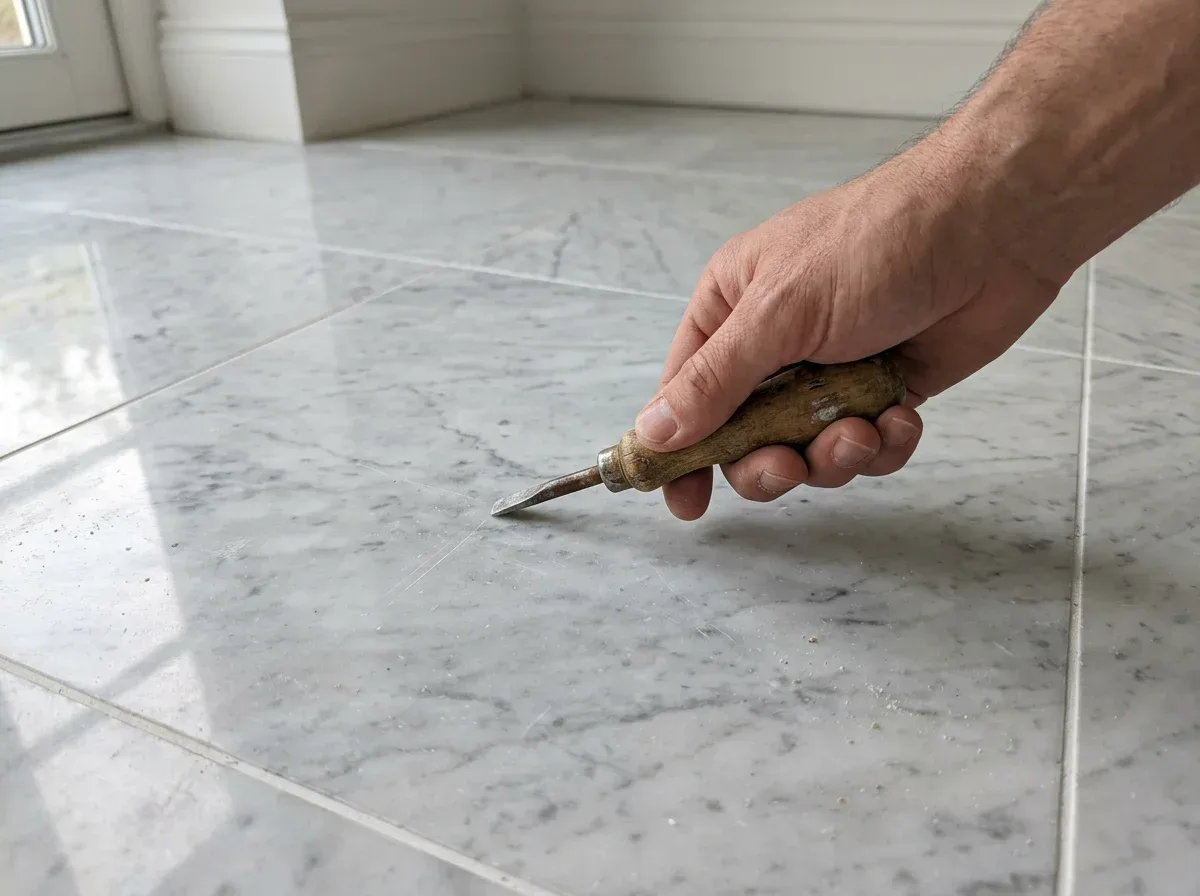
- Tap test: The tiles are tapped lightly with a tool with a plastic or wooden handle or with a metal ball; hollow areas sound different from fully bonded ones.
- Pressing: Pressing on the corners and edges of the tiles one by one checks for movement; a corner that moves indicates a void underneath.
- Visual inspection: Cracks in the tiles and deterioration of the joints, such as breaking and crumbling, are checked by eye; these often cluster around the hollow area.

In large areas, the entire floor is scanned this way during the survey.
Causes
Tiles becoming hollow is mostly caused by incomplete work during installation, and sometimes by water and loads that come later.
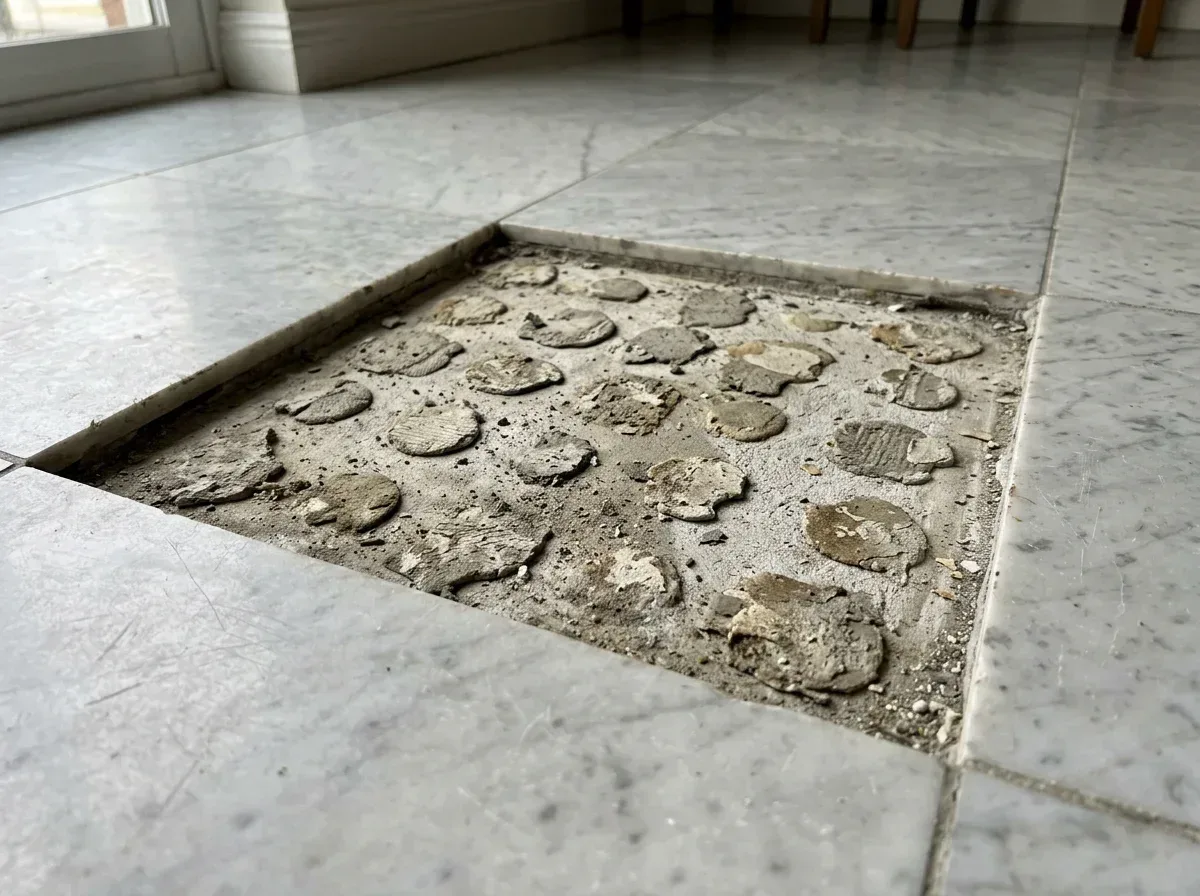
- Adhesive applied in dabs: If the adhesive is applied under the tile in dabs rather than over the full surface during installation, voids are left in between and the tile is unsupported at those points.
- Insufficient mortar: When too little mortar is used, the underside of the tile is not completely filled; as the mortar shrinks and settles over time, the void grows.
- Movement of the substrate: Movement of the substrate, such as the screed or slab settling or cracking, breaks the bond between the mortar and the tile.
- Water leakage that damages the mortar: Water leaking from plumbing or a wet area penetrates the mortar, weakens it and starts a void under the tile.
- Heavy loads and impact: Moving heavy items, falling objects or a constant heavy load crush and break the mortar under the tile, loosening its bond.
Why Before Polishing?
The weight and vibration of the polishing machine can easily break a tile that looks sound but is hollow underneath.
- Cracking under the machine: A hollow tile flexes under the weight and vibration of the polishing machine and can crack in the unsupported area, turning into damage that is harder to repair.
- An even level cannot be achieved: A tile that moves goes down as the machine passes over it and comes back up afterward; for this reason it cannot be brought to the same level as its neighbors during polishing.
- Cracks are not fixed by polishing: Polishing only treats the surface; a break in a cracked tile does not close with polishing, and it must first be secured or replaced.
Solution Options for a Hollow Tile
| Situation | Solution | Note |
|---|---|---|
| Small hollow area, tile intact | Filling the void by injection | The tile is not removed |
| Large hollow area, tile intact | Removing and re-bonding | Careful removal is required |
| Hollow and cracked tile | Removing and replacing with a new one | A similar stone is sought |
| Widespread hollow tiles | Localized re-laying | The underlying moisture or subfloor problem is investigated |
Matching the Replaced Tile
A tile that has been removed and replaced may look different from its surroundings at first; the tone, veining and surface of the new stone are not exactly the same as the older ones. Where possible, a tile from the same quarry or the same type of stone, with a similar vein pattern, is chosen. In some homes, a tile is taken from a hidden spot such as under a cabinet and moved to the visible area, while the new tile is placed in the hidden spot. Honing and polishing carried out after the tile is replaced brings the new and old tiles to the same surface and gloss, greatly reducing the difference.
Spotting a Hollow Tile Early
When a hollow tile is noticed early, it can often be secured without being removed and saved from cracking.
- Note any hollow sounds and movement: Make a note of any tiles that sound hollow underfoot or move slightly; these spots are the first places to be checked during the site survey.
- Have the area around damaged grout joints checked: If you see cracks and crumbling in the grout joints, have the surrounding tiles checked, because deteriorated grout often points to a hollow tile.
- Do not place heavy furniture on a hollow tile: Placing heavy furniture on a tile with a void underneath puts constant load on it and can cause it to crack from the middle or the corner.
- Ask for a survey before honing and polishing: Before having the floor honed and polished, ask for the entire floor to be surveyed so that hollow tiles can be found and secured before the machine starts working.
Detecting Hollow Tiles in Alanya
In Alanya, we often come across hollow tiles, especially in older apartment buildings and in new buildings that were laid in a hurry. During the survey before honing and polishing, we check the entire floor, mark the hollow tiles, and depending on the situation recommend injection, re-bonding or replacement. Once the securing work is complete, we bring the entire floor to a single level plane through honing and polishing.
Solutions

Injection Fixing
Removing and Re-laying the Slab
The slab is carefully removed, the substrate is cleaned, and the slab is re-laid with full-coverage adhesive. If the slab is intact, the same one is reused.
Slab Replacement
A cracked or broken slab is replaced with a new one. A slab of the same stone, ideally in a similar tone, must be found; in older buildings this can be difficult.
Afterwards, the new or re-laid slabs are blended into the floor through honing.
Our Scratch and Stain Removal Service in Alanya

We remove scratches, acid marks and stains that have penetrated the stone on marble, granite and travertine surfaces using honing, poultice or spot repair, depending on the type. We never start work without identifying the source of the stain.
We tell you honestly, on site, which stains can be removed and which are permanent. Explore our Scratch Removal service.
In some cases, the void can be filled by injecting a suitable material through the joint or small holes. Its success depends on the condition of the void. — Expert Note