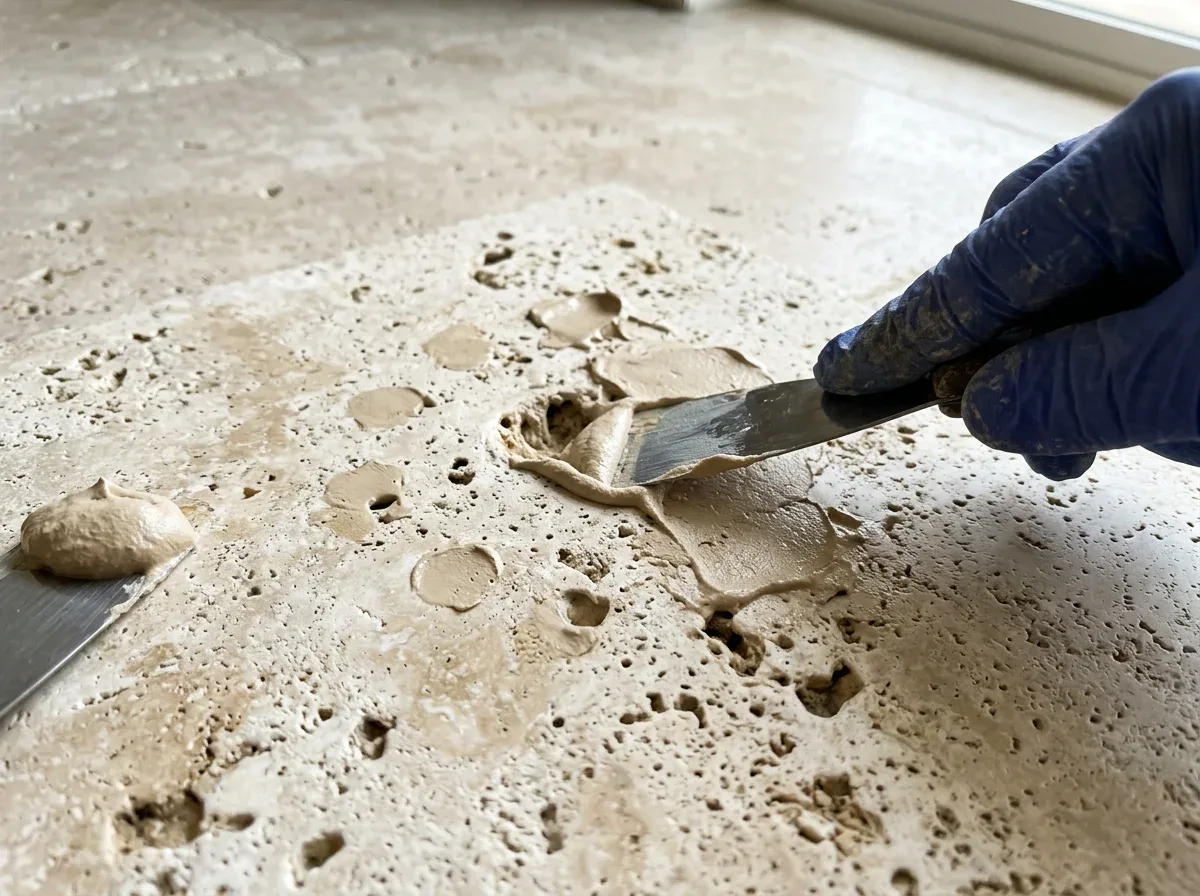
Travertine Grout and Void Filling: Resin or Cement?
In short: The natural holes in travertine and the joints between slabs open up over time; they trap dirt, chip at the edges and spoil the look of the floor.
Two main materials are used to close these gaps: resin-based fillers and cement-based fillers. In this article, we explain the differences between the two, which one gives better results in which area, and what to watch out for during filling.
Why Is Filling Needed?
Due to the way it forms, travertine contains voids left by gas bubbles and plant traces. At the factory, most of these voids are filled and the slabs are sold as "filled". Over time, however, this filling wears away for various reasons and the voids open up again.
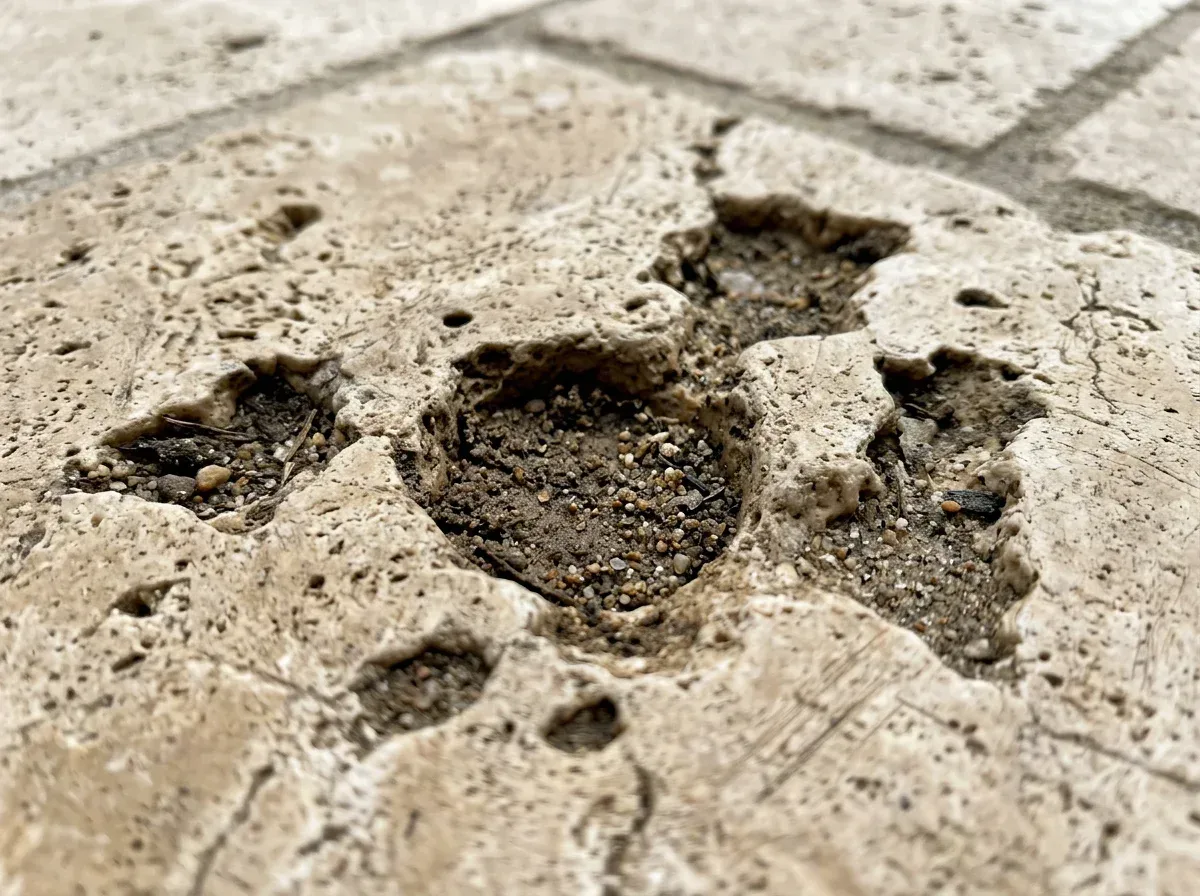
- Wear of the factory filling: Factory filling wears away or crumbles over time due to foot traffic, sand and cleaning products, leaving open holes that trap dirt.
- Voids exposed by honing: Honing opens closed voids close to the surface, which is why refilling is needed during honing.
- Broken edges and joints: Slab edges and joints chip under traffic; sand and dirt fill the gaps that open up, and the damage progresses over time.

Cement-Based Fillers
Cement-based fillers consist of a mixture of fine cement, mineral filler and color pigments. They are a mineral material similar to travertine itself.
Advantages:
- Look similar to travertine: It gives a texture and matte appearance similar to travertine; thanks to its mineral structure, the filling does not stand out within the stone.
- Breathable structure: It has a breathable structure; outdoors it adapts well to temperature changes and allows moisture inside the stone to escape.
- Suitable for large voids: It is suitable for filling large voids and wide joints; it settles without sinking and keeps its volume even in wide gaps.
- Relatively economical: It is relatively economical; especially on outdoor floors with wide joints, it keeps material costs lower than resin.
Limitations:
- More porous structure: It is more porous than resin; if not protected with an impregnating sealer, it absorbs stains and dirt and looks darker than the stone over time.
- Difficulty with fine holes: It is hard to work into very fine holes; filler that does not reach the bottom of narrow voids may leave air inside and crumble later.
- Limited gloss: On a floor polished to a high gloss, the filling may not fully match the stone's shine; it can appear as matte spots on a glossy surface.
Resin-Based Fillers
Resin fillers are generally epoxy- or polyester-based; they are tinted to match the tone of the stone. Once mixed with the hardener, they cure in a short time.
Advantages:
- Flows into fine holes: It flows even into very fine holes and fills them completely; since no voids are left inside, the filling does not sink later.
- Strong adhesion: When cured, it bonds very well to the stone and is durable; it does not easily separate from the edges under traffic.
- Polishable surface: It can be polished; on polished indoor floors it comes close to the same gloss as the stone, so the filled spots are not noticeable.
- Water and stain resistance: It is resistant to water and stains; in wet indoor areas such as bathrooms and kitchens, it stays clean without absorbing dirt.
Limitations:
- Yellowing in sunlight: Some resins may yellow over time in sunlight (UV); product selection is important outdoors, and a UV-resistant product is preferred.
- Different thermal expansion: Its thermal expansion differs from that of stone; in very wide joints and in areas under the sun, there may be a risk of cracking as it heats up and cools down.
- Application that requires experience: Application requires experience; if excess resin spreads onto the stone surface, it is hard to clean after curing and leaves glossy stains on the surface.
Which One for Which Area?
| Area | More suitable filler |
|---|---|
| Indoor, polished travertine floor | Resin |
| Indoor, honed travertine | Resin or fine cement filler |
| Bathroom and shower floor | Resin (water resistance) |
| Pool edge | Filler suitable for outdoors, UV-resistant; often cement-based |
| Terrace and garden | Cement-based or special UV-resistant resin |
| Wide joints | Cement-based grout filler |
In short, you can think of it this way: indoors, especially on glossy finishes and in wet areas, resin is the better choice; outdoors, where sun, rain and temperature swings are constant, a mineral-based cement filler or a UV-resistant resin made for outdoor use comes to the fore. The two materials can also be used together on the same floor: wide joints can be filled with cement-based filler, and small pores on the slab surface can be sealed with resin.
This table is a general guide. The color of the stone, the type of the existing filler, the amount of sun exposure and the intensity of use affect the final decision.
Color Matching: The Visible Side of the Job
The color of the filler is the most noticeable part of the quality of the work. Travertine is not a single color; light beige, cream and brown tones can all be found on the same slab. Therefore:
- Choose by background color: The filler color is chosen not by the average tone of the stone but by its most common background color, so that the filler blends in with the overall look of the floor.
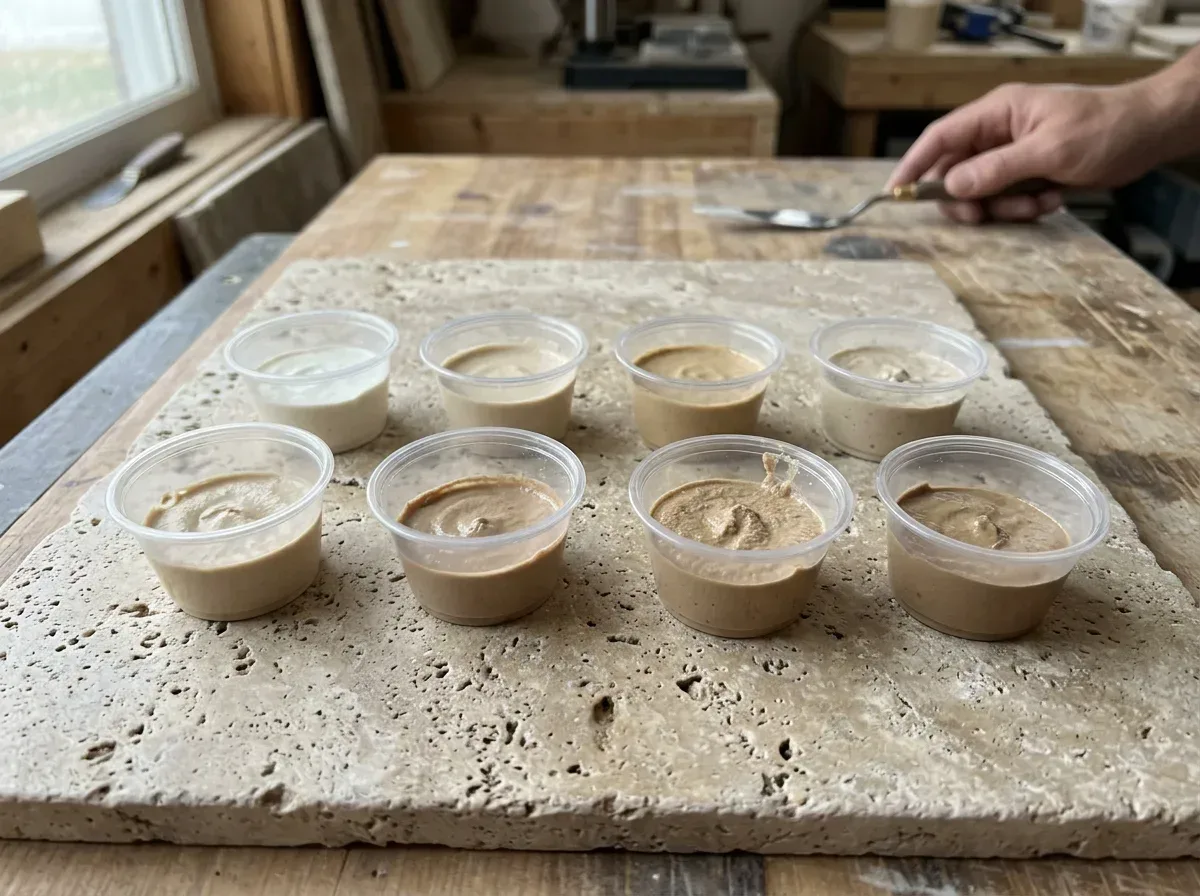
- Prepare several tones: If necessary, several tones are prepared for different areas of the floor; in sections with both light and dark slabs, a single-color filler can stand out.
- Judge it when dry: The color is always judged not when wet but after it has dried and been wiped; fillers can lighten as they dry.
When Should the Old Filler Be Removed?
Applying new filler over every hole that has opened up is not a lasting solution. If the old filler has become loose, cracked or separated at the edges, the new filler will bond to it and soon come off along with it. That is why the following checks are made before filling:
- Clean out loose filler: Old filler that crumbles or shifts when pressed with a pointed tool is removed; otherwise, the new filler will come off together with it.
- Clean the holes: Dirt, sand and soap residue inside the holes are removed; filler only adheres to clean, dry stone.
- Open up the joints: In the joints, the old mortar is cleared to a certain depth; enough room is left for the new filler to sit and hold firmly.
- Wait for the stone to dry: Wait until the stone is completely dry; resin applied to damp stone does not adhere well, and cement-based filler cracks quickly.
The Order of Filling and Honing
In travertine renovation, filling is not a job done on its own. Usually, coarse honing opens up the surface in the first stage and reveals hidden voids; then the filling is done, left to dry, and honing is completed with finer stages. This way, the filler and the stone stay on the same plane, and any excess filler spilling over the stone surface is removed by honing. If filling is done after honing, raised, matte stains are left on the surface.
Extending the Life of the Filler
How long the filler stays in place depends directly on protection and cleaning habits after application.
- Impregnation: Especially when cement-based fillers are protected with an impregnating sealer, they do not hold dirt and stains, and water absorption decreases.
- Proper cleaning: Acidic products wear down both the travertine and the cement filler; a pH-neutral cleaner should be used.
- Sand control: Sand carried in on shoes wears down the filler faster than the stone; entrance mats and regular sweeping slow down this wear.
- Early intervention: If isolated holes are filled in time, the filler around them is prevented from crumbling as well.
Outdoor Filling in Alanya
Pool edges, terraces and garden paths are the places where travertine filler is put under the most stress in Alanya. Stone that heats up at midday in summer cools down at night, and pool water and salty air enter the pores. Under these conditions, a resin made for indoor use and lacking UV resistance can yellow or crack within a few seasons. When choosing a filler material outdoors, the product's resistance to sun and water must always be checked, and impregnation after application should not be neglected.
The Correct Order for Filling Application

- Cleaning: Dirt, sand, and old crumbling filler are removed from the holes and joints.
- Drying: The voids must be dry, especially when using resin filler.
- Filling: The material is pressed into the holes to fill them, leaving a slight excess on the surface.
- Curing: Wait for the duration specified for the product.
- Honing: The excess filler is removed by honing, and the surface becomes level with the stone.
- Inspection and repeat: If small voids open up during honing, a second coat of filler is applied.
- Impregnation: Both the stone and the filler are protected against stains.
Our Travertine Grinding Service in Alanya

We grind travertine floors that have open pores, darkened or worn surfaces, and fill the voids with color-matched filler. For outdoor areas such as pool surrounds, terraces and gardens, we apply honed or brushed finishes that prioritize slip resistance over gloss.
After grinding, we also recommend a suitable impregnating sealer to protect the travertine against stains. Explore our Travertine Grinding service.
Holes left open collect dirt, sand and water. Outdoors, algae settles inside them; indoors, shoe heels and furniture legs chip the edges of the holes. That is why filling is important for both appearance and durability. — Expert Note